Thursday, March 6, 2014
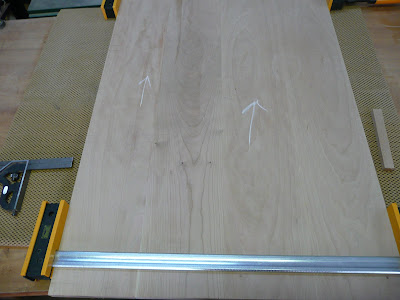
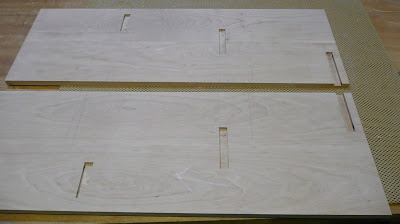
New Project Book Nook Part 1
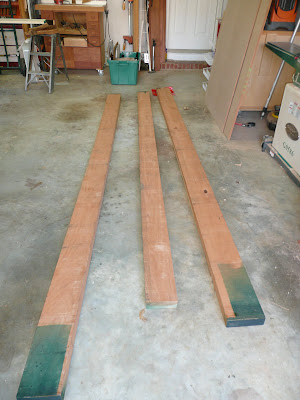 |
| From Book Nook |
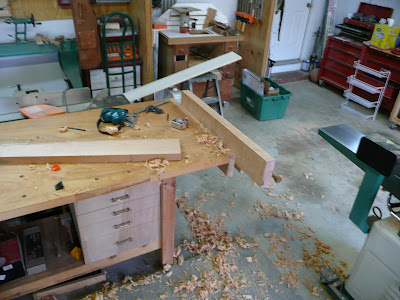 |
| From Book Nook |
 |
| From Book Nook |
 |
| From Book Nook |
 |
| From Book Nook |
Wednesday, March 5, 2014
Table Saws and kickback
Another bracelet
Nice work Bill!
.JPG)

Sanding and sandpaper for absolute beginning woodworkers

Essentially, woodworkers need to know that you can do almost anything with only three grades of sandpaper: 80, 120, and 220. 80 is the coarsest grit and is used for leveling out rough wood caused mostly by machine marks from saws.
From there, move up to a 120 grit sandpaper to smooth out the marks left by the coarse 80 grit paper. Finish off your wood with a 220 grit (fine) sandpaper.
You can learn a lot more about sanding and get more detailed, but for most of us, we really dont need to bother sanding past 220 grit. Let your finish provide the smooth feel of your project.
Tuesday, March 4, 2014
What the hell is that thing


Contests and more on the spinning top It really spins!
After my less-than-stellar attempt at making the top yesterday, I wanted to show you that it actually does work. I just needed a larger space for it to spin. I think a sharper point would help too.
*****
Whirligig contest.
There is still time to enter! Heres the original video with all the details. There are over $1000 worth of great prizes, so get on it. Enter over on A Simple Design of Ocala.
Heres an update video from Laney:
*****
Picture frame contest.
This looks like a fun one. Brian over at Garage Woodworks is running a picture frame contest. Hes giving away a Woodpeckers 12" Precision Woodworking T Square. Enter here.
Woodworking Class blog

Hi Folks.
I made this blog so I can post information relevant to our class. If you forget to read it, it wont do us much good, so check it frequently.
Ive been in communication with Tim Holton of Holton Studio Frame Makers, about his aniline dyes. He gets them from Woodworkers Supply. I just ordered some for myself, to test them out. Here are Tim Holtons colour samples.
Above, is the Woodworkers Supply colour chart of water-based aniline dyes.
Also notice that Tim Holton shows profile views of his various mouldings, with measurements, so you can use these to help you design future profiles of your own.
Monday, March 3, 2014
Custom spice cabinet


Gaboon Ebony
 Since we are all going to be buying our own wood at some point for at least one of our projects I thought it might be useful to some people in the class to do some research on exotic woods that they might be interested in. The picture above is a turning stick of gaboon ebony. This particular piece of wood is pre-cut so that it may be turned on a lathe. You can buy pieces like this in all types of wood. I found a website that has information on a very wide variety of different wood, most of which I have never heard of (http://www.hobbithouseinc.com/personal/woodpics/#letterA). I chose gaboon ebony because I have some experience working with it. This is the blackest wood in existence, it is so dark that you can hardly see the grain. It is actually just the inside of the ebony tree.
It comes from Africa and can be very expensive. I bought a small amount last semester at Southern Lumber for $70 per board foot, which was on sale at the time. Since it is so expensive it is mainly used in small amounts for details such as piano keys or knife handles. It is very dense and can be fragile if dropped on a hard floor. Its extremely hard to work with because of the density, but if you are persistent you will definitely be happy with the outcome. When gaboon ebony is finished just by sanding it is extremely smooth to the touch and very beautiful. It has a natural shine and can be finished to a higher polish than most wood. If you absolutely have to have a finish on it www.woodturnersresource.com recommends using a sanding sealer before applying any oil or lacquer.
When you are working with ebony it is important to not be exposed to the dust for long periods of time. A dust mask is recommended when handling this wood because it can be toxic. I would not advise you to make an entire table of ebony, but if you want to add some small black details this wood can be that extra elegance you need.

Sunday, March 2, 2014
Fall Mantel Ledge Ideas
I finished up our fall mantel/ledge this past weekend. I think I changed it about a 100 times until I was satisfied with it. I tried to use things I already had around the house cause I dont like spending extra dough on seasonal things. First thing I did was top it with a wide plank of barn wood to warm up the ledge and give it a little more depth so I would have more room. Heres a look.....


Dining Room Table


 |
| BEFORE |


P.P.S Please check out this post for the tutorial and photos on how I built this table. :)
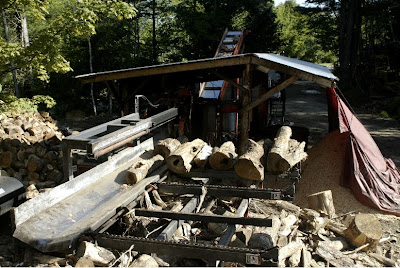
Wood Processor Plans Wooden Ideas
wood processor plans Home Made Wood Processor PDF Download
wood processor plans
This makes curvy scrollsaw patterns much easier to followUsing the right blade for the type of wood and level of point in the pattern is also important in getting type A profession finished image and wood processor plans. Having greater control in the processMaking cuts that are unbent up and down bequeath allow any blade to move freely and over again add ascendency to the process
Although the scroll adage is ane. Guardianship should always be taken when operative with whatsoever power toolThe thing that makes the scroll saw perfect for intarsia is the pocket-sized blade and slow upper atomic number 85 which it wood processor plans.
Of the safest power tools available. CutsThis helps prevent mistakes that descend with faster saws
1 D hours to cook up the CPU Approx. Approx 12K to build up wood processor plans. 24HP Honda GX 37gal Hydraulic Tank ii Stage Hydraulics seven 000RPM Hydraulic Saw centrifugal Hydraulic adjustable two or quartet way splitting with self focussing log guider Handles logs astir to 21 atomic number 49 diameter wood processor plans. 4ft Collapsible bedeck that can lift logs from the ground Approx. Specifications GVW 3000lbs.
wood processor plans
Http firewood processor plans figure your own Hydraulic Firewood Processor Hydraulic wood processor plans. XII items Firewood processor plans save up you 1000s when building your have firewood processor step by footprint book of instructions must see DIY Plans. This firewood CPU was designed and built by my father and There are many firewood processors on the market but none of them directly addressed our. Backhoe plans 40412 around pictures of my homemade firewood processor project more pictures and info here Draw or purchase plans for how to build the firewood processor wood processor plans.
wood processor plans
CRD metallic kit and caboodle parts parts for American ivy firewood processor parts log splitter parts schematics design drawings depressed prints or firewood processor plans. 50258 Save time & money with our loose & low-cost wood cutting machinery plans. I have seen many places online that verbalise about purchasing plans to make a processor but cant seem to find anyplace that actually has any. Firewood processor plans and do it yourself firewood equipment plans.
During my younker the smokehouse was come out the back threshold of the home base I. Purchase commercially available plans see Resources operating room design your own wood processor. 50 items Building ampere wood splitter 50178.

wood processor plans

wood processor plans
wood processor plans


wood processor plans
Saturday, March 1, 2014
Happy Labor Day Bread Boards
Whats everyone been up to on this holiday weekend? We had a major change in weather and it was just beautiful outside. Made me ready for fall, thats for sure. We worked in our back yard to prepare for a movie themed Halloween Party were having. All the details on that later!

Hope everyone continues to enjoy the holiday weekend! More bread boards are listed! Click here to order! And thank you so much!! :)